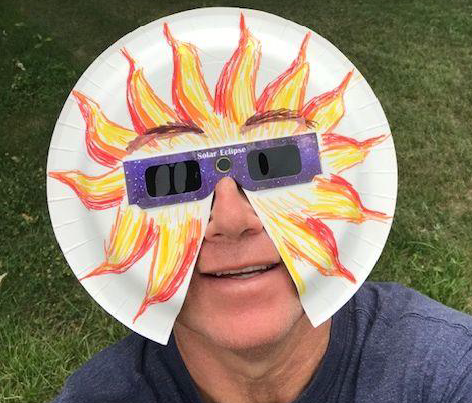
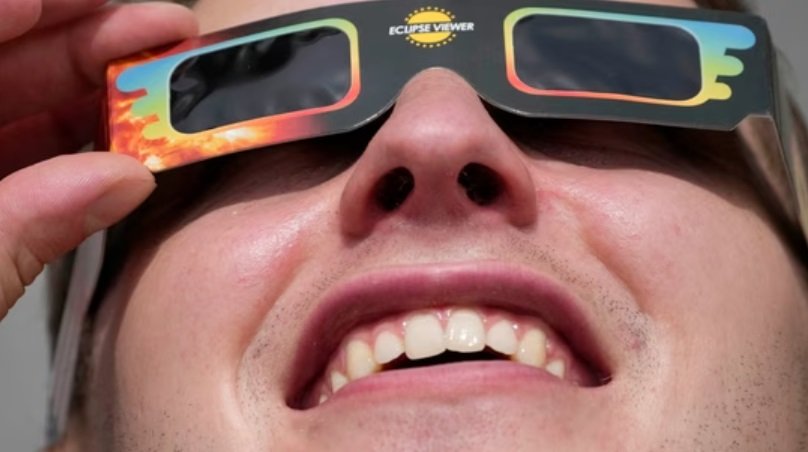
Hey there, space enthusiasts! Ever heard of a solar eclipse but worried about looking directly at the sun? Don’t fret, because we’re about to dive into the world of safe eclipse viewing with some trusty DIY solar eclipse glasses!
Now, before we get crafting, let’s understand why looking directly at the sun is a big no-no. The sun emits intense radiation, including ultraviolet (UV) light. This UV light can seriously damage your eyesight, even causing permanent blindness. Think of your eyes like delicate cameras – you wouldn’t point them straight at the sun, would you?
So, how do these special glasses work? They have a special filter that blocks out almost all visible light from the sun, while still allowing you to see its faint silhouette. Imagine it like dimming the sun down to a safe level for your eyes. Here’s the cool part – you can actually make your own eclipse glasses with a few household items!
Method 1: Projecting a Safe Image (The Cardboard Box Trick)
This method is fantastic for a group activity and lets you see the eclipse indirectly. You’ll need:
- A cardboard box (shoebox works great!)
- Aluminum foil
- Scissors or a craft knife
- Tape
- White paper
- Box It Up: Cut out two openings on opposite ends of the box. One opening will be your “pinhole maker” and the other will be your viewing window.
- Foil Time: Cover the pinhole opening with aluminum foil. Use tape to secure it firmly.
- Sharpen Up: Using a pin or sharp object, carefully poke a tiny hole in the center of the aluminum foil. Think precision here – the smaller the hole, the sharper the projected image will be.
- Light Catcher: On the opposite end of the box, tape a piece of white paper to the inside wall. This will be your screen to view the eclipse image.
Here’s the magic: Hold the box so the pinhole faces the sun. The sunlight will pass through the tiny hole and project a safe image of the eclipse onto the white paper inside. Now you and your friends can watch the eclipse unfold without risking your eyes!

Method 2: Repurposing Those 3D Glasses (For the Crafty Folks)
If you have a lying around a pair of those cool 3D glasses from the movies, you can transform them into eclipse glasses! You’ll need:
- Repurposable 3D glasses (rated ISO) – Check for a label mentioning ISO 12312-2
- Safety scissors or craft knife
- Solar filter sheet (available at welding supply stores)
Caution! Not all 3D glasses are created equal. Make sure the glasses you use have an ISO certification label (ISO 12312-2) specifically for solar viewing. Regular sunglasses or even multiple layers of regular photographic film will NOT provide sufficient protection.
- Frame It Up: Carefully remove the colored lenses from your 3D glasses. Use safety scissors or a craft knife for this step.
- Filter Frenzy: Cut a piece of solar filter sheet to the same size and shape as the original lenses.
- Secure the Fit: Place the solar filter over the opening where the original lenses were and carefully reassemble the glasses frame.
Voila! You’ve got yourself a pair of eclipse-ready shades. Remember, always double-check that the solar filter sheet is properly secured before using your glasses.
Safety First, Fun Always!
These DIY methods are a fun way to experience a solar eclipse, but safety is paramount. Here are some additional tips:
- Never look directly at the sun with your naked eyes, even for a moment.
- Only use eclipse glasses with a certified solar filter (ISO 12312-2).
- If you’re unsure about your DIY eclipse glasses, it’s best to purchase a certified pair from a reputable source.
- Supervise children closely while viewing the eclipse.
With a little caution and these DIY tricks, you can safely enjoy the wonder of a solar eclipse! Now get out there and catch a glimpse of this celestial spectacle!


Leave a Reply