Table of Contents
Introduction – Remove a Device from Your Apple ID
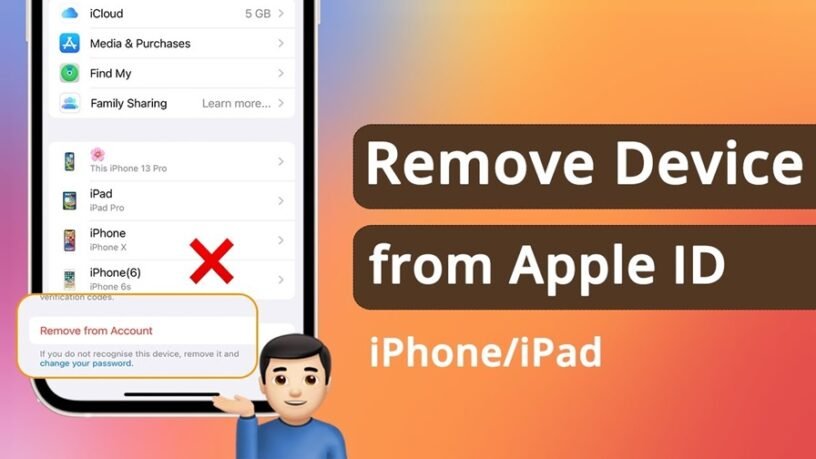
Ever sold an old iPhone or given your iPad to a friend? If you don’t remove those devices from your Apple ID, they’ll still be chilling on your list, and you might even be missing out on some security features. Let’s talk about how to remove a device from your Apple ID, why it’s important, and walk you through the process on both your device and your computer.
Why Remove a Device from Your Apple ID?
Imagine this: you sell your old iPhone to a friend. If you don’t remove it from your Apple ID, they could technically access your iCloud data (if they know your password), see your Apple Music listening history, or even redownload apps you purchased with your Apple ID. It’s not super likely, but it’s definitely better to be safe than sorry.
Removing a device also helps you manage your Find My network. Find My lets you locate your Apple devices on a map, which is super handy if you ever misplace your phone. But if you have a bunch of old devices on your list, it can be cluttered and confusing.
Removing a Device from Your iPhone or iPad
- Open the Settings app.
- Tap on your name at the top of the screen.
- Tap on Media & Purchases.
- Tap on View Account. You might need to enter your Apple ID password here.
- Scroll down to the bottom and tap on Remove This Device.
Removing a Device from Your Mac or PC
- Open the Apple Music app or the Apple TV app.
- Click on Account > Account Settings (on Mac) or click on your name at the bottom of the sidebar and then choose View My Account (on Windows PC). You might need to sign in with your Apple ID here.
- Click on Manage Devices.
- Find the device you want to remove and click Remove.
Removing a Device from iCloud.com
- Head over to https://www.icloud.com/ and sign in with your Apple ID.
- Click on Find iPhone.
- Select All Devices at the top of the window.
- Choose the device you want to remove from your list.
- Click Remove This Device.
Bonus Tip: Erasing Data Before Removal
If you’re giving away or selling your device, it’s a good idea to completely erase all your data before removing it from your Apple ID. This ensures that no one else will have access to your personal information. Here’s how to erase your iPhone or iPad before removal:
- Back up your device to iCloud or your computer (super important!).
- Go to Settings > General > Reset.
- Tap on Erase All Content and Settings. You’ll need to enter your passcode and Apple ID password to confirm.
Conclusion – Remove a Device from Your Apple ID
By following these steps, you can easily remove devices from your Apple ID and keep your account secure. Remember, it’s a good housekeeping practice to regularly review your device list and remove anything you no longer use. That way, your Find My network stays streamlined, and your data stays protected.


Leave a Reply